Links

Showing posts with label Bassy. Show all posts

12 June 2009

Incoming... painting has started

Well with the wife home sick this week I haven't been able to get as much done, she keeps coming with "Important" things to do instead of playing with little toys.. sheeesh.. whadaya think this is da real world or something. Well I threw a little paint on the second bassie last night, and picked up another box of IG at the local GW so I'll be finishing up 3rd Plt here real soon. Look out for picks as I get started.


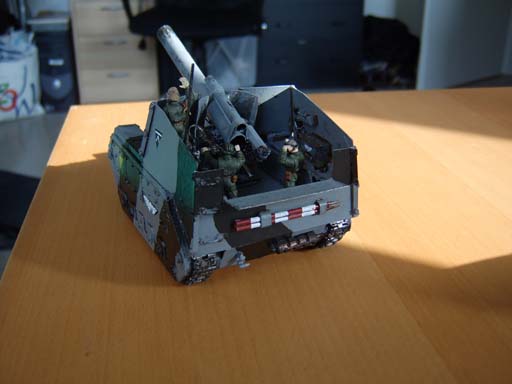
Not much to see here really, first couple of layers are in there and I started the detailing. At this point I'll finish the interior and any major parts next. The final detailing/weathering will come at the end using Tamiya's Weathering Master kits (I love these things). Someday, if I ever start doing more than 1-2 tanks per year and find a new job, I might invest in a spray gun but most likely not this year.


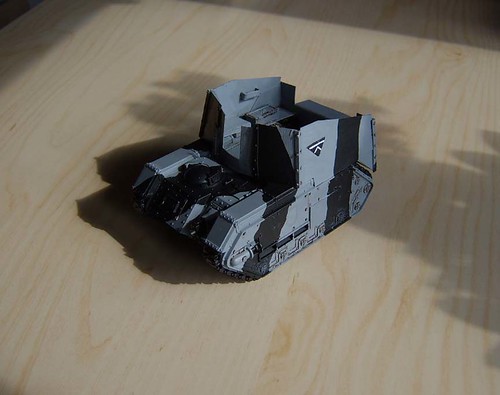
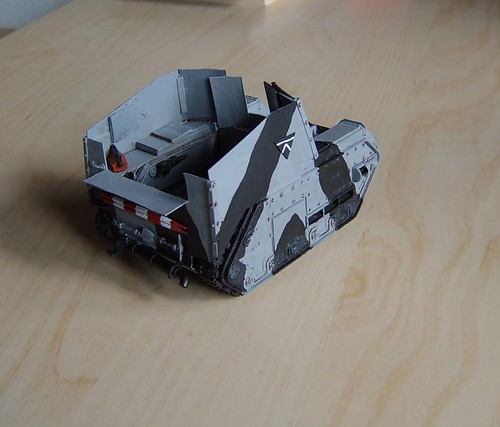
Inside shot, can't see a lot but yes that's a Red Emperorsman Toolbox sitting there on the ledge.


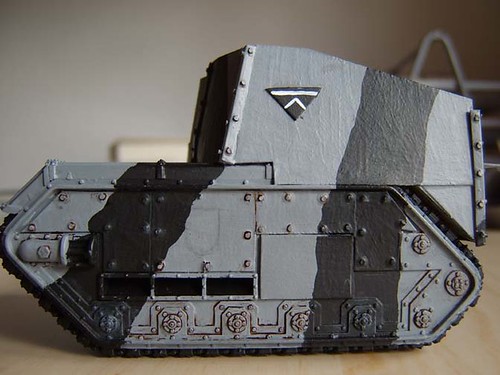
A horrible shot showing the details so far. The edges between the colors needs to be cleaned up yet, I know. Other than that I'll leave it like this until it's time to do the weathering, we'll see how it comes out.

09 June 2009

Incoming… Part 2

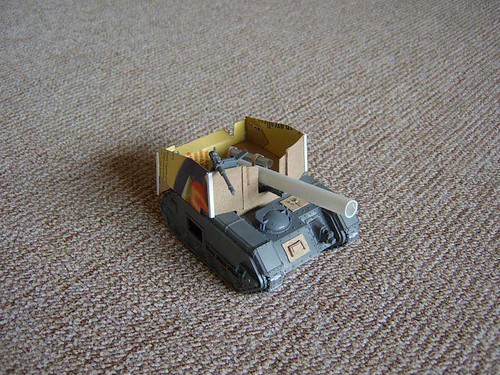
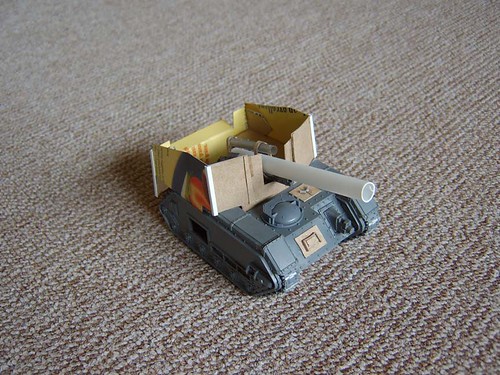
Well after short vacation in Rome and a week where I just couldn't bring myself to do any modeling I finally picked up the knife and brush. Below you can see the results. I really didn't do all that much, the biggest change of course is the grey paint, it tends to make the model look better than just cardboard. Believe it or not I've actually had people complain about my models when they see it's out of cardboard, but then praise the work when it's been painted grey... hmmm... anyways..


I also re-did the the crew armor on the front corners. If you compare this shot with the original WIP you'll notice that it's now sloped to the rear instead of being being vertical. There was just something that was bothering me everytime I looked at it and suddenly a flash went off and noticed it.


Well the here's the rivets, ran out of plastcard this morning doing this side so had to buy some. The rest is now done as well I just didn't want to take new pics to show a couple of rivets. I also did the side armor which is to say I cut ot the same shapes that the armor normally is and put it there instead. I really hate the way the side of a Chimera sticks out like that, and although the new Chimera side appear to be smaller they still bother me, so they just get plates instead. Oh, and side access doors have been misplaced so they got temperory covers until I find the proper ones.


And a shot of the interior, since I took the photo I moved the magnet for the radio back about 1.5 cm, I relized after looking at the picture that it was to far forward. The ledges on the sides (with magnets) are there to hold the gun crew once they get done. I also used magnets on the main gun and stubber so that they can be removed for transport and in the case of the stubber be removed when I don't feel like using it in-game.

21 May 2009

In Coming!! 2nd Bassie

Well I had some time this morning while watching TV with the wife so I thought I'd throw this together. I already have one, but with the new rules I decided a Battery would be better, what's that saying I learned while in the Para's... "One equals none while two equals one". So before I bore you with me random thoughts...


Just a quick view of the rear of the Earthshacker cannon. I know the cannon itself doesn't look great, but hey when all you got is bits, than bits it is.


Rear view after adding the side and rear armor.


Like the SdKfz 124 "Wespe" that I took the ideas from I decided to add a Heavy Stubber to this one. It's mounted on the rear of the front gun shield with a magnet so that I can remove it because of two reasons... One is that I don't always want to use it in game, and the most important is that with the Stubber it doesn't fit in it's carrying case ;)


And the front without the Hvy Stubber. Well it's off to spending time with the wife today, so maybe I'll some time to work on it more over the weekend.

28 May 2008

Basilisk - Finished


Well I took a break after basing the Stormblade and went back to finish the Basilisk that I had started earlier. It was pretty much done but needed a few "touch-ups" here and there. I now proudly present the finished work.

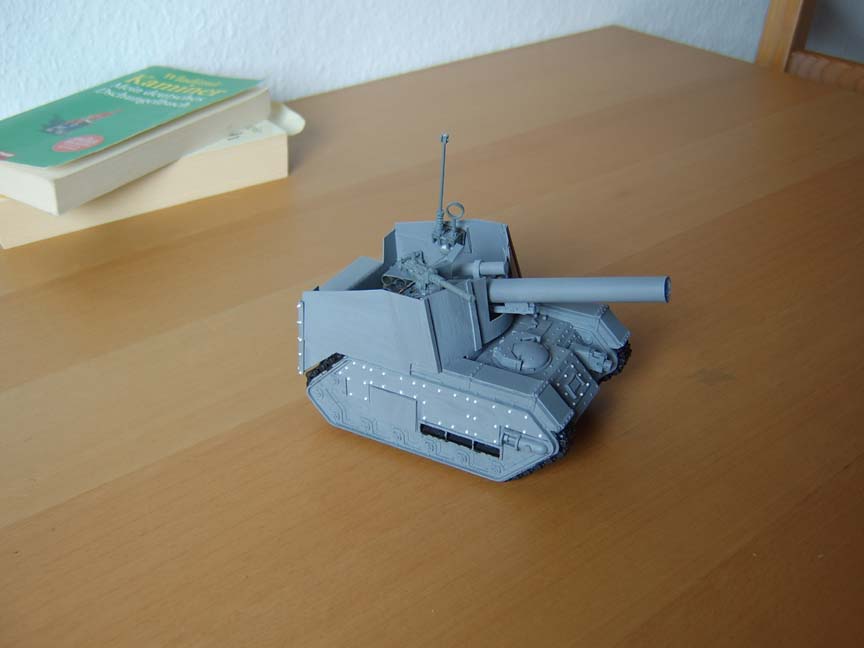
First up is a view from the front. I still may go back and do a little more work on the drivers view port. I'm just not sure I am happy with it the way it is.


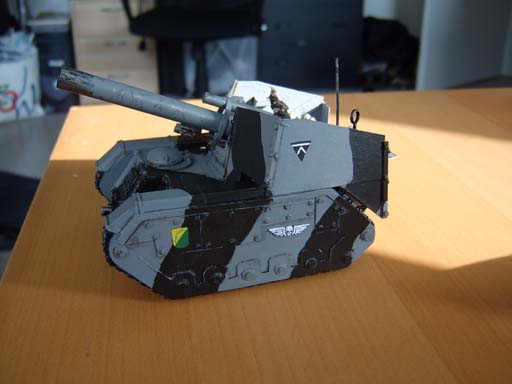
Next is a view from the side. Not much to really say about this one.


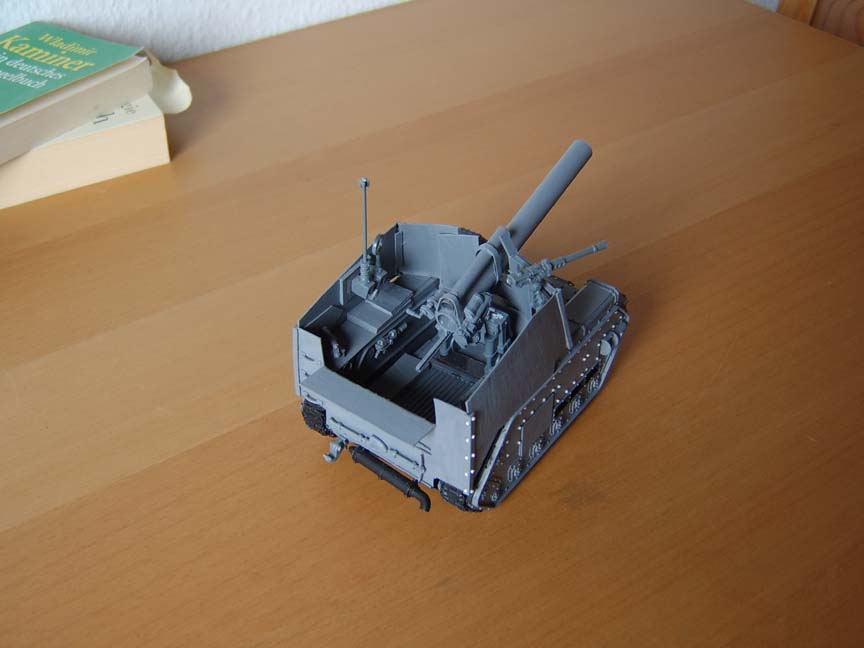
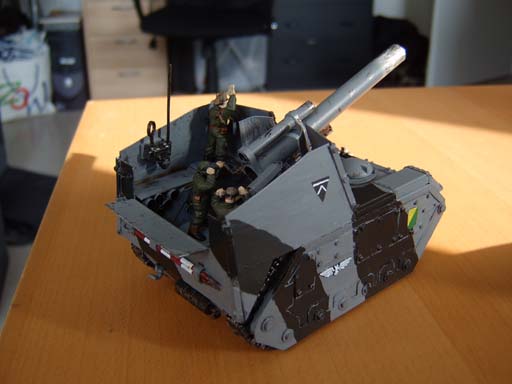
A view from the left rear. I had originally thought about closing the interior, but then because I had used the WW2 German Waspe as my inspiration I decided to leave it open. To be honest this was my first attempt at such a thing, I'm still pleased with how it turned out.


Right side rear view,


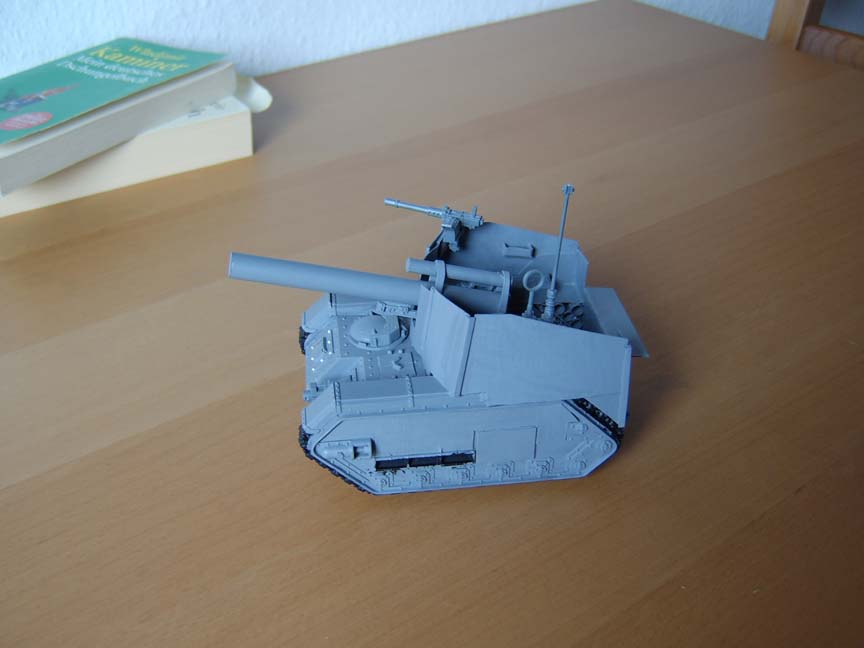
Here's a view looking down the barrel. The cannon itself and all 3 crewmen are either on bases or magnets. This way they can be removed for transport, and in the case of the barrel it can be rotated up to the limits of the armor.

14 April 2008

WIP Basilisk Update

Well here's the next update. It's pretty much done now, just a few minor details to work out. Such as what details and gubbins to put on.

sv600148.JPG

I have always hated the side's of the Chimera's and variants, so instead I just made some panels to look like the side of a Chimera and glued them in place.

sv600151.JPG

Here you can see where I have started adding rivets.. (Glorious IG and their Rivets). Oh, and also the heavy bolter in the front.

sv600152.JPG

Added the rear door

sv600153.JPG

Shot of the interior with rear door, and main gun.

sv600154.JPG

Front view with Main gun, and Hvy bolter added.

13 April 2008

WIP Basilisk

UPDATE 1. Here's a few updated Photos.

sv600141.JPG

A shot from the rear with a few extra details added, Radio mounted on the left with magnets, and shelves on the right along with a crewman's las rifle. In my head I imagine the black tubes the storage location for the shells. Large magnet on the floor is for the main gun, this way it can be removed for transport.


New shot from the front side. Painted a grey and plastistrut added to some of the seems.


New shot of the main gun. I realized after looking at more pictures that the Wesp's main gun wasn't fixed but on a small turret of sorts. So I removed the old fixed gun and added what should look like a turret.

---------------------------------------------------------------------

Well after spending an hour in the local hobby store drooling I decided I needed a Bassy for my IG army. The thing is though after seeing a 1/35 scale model of the WW2 Wespe I knew that's what I wanted mine to look like. So I got home and started looking for pics on line and away I went. Below is my progress so far.


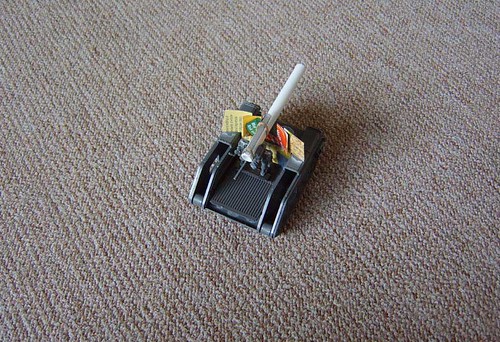
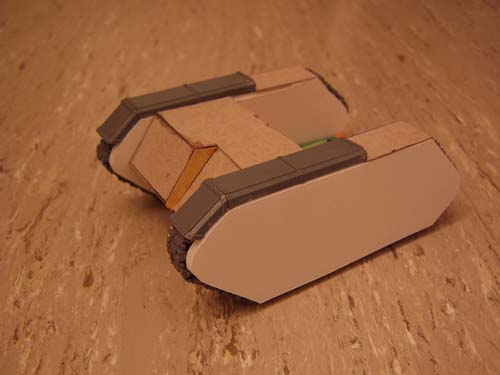
Here's the body, not much to look at really.


Rear view of the main hull. Again not very exciting, The thing is though is that I don't do interiors very often so it's easy just to close it up and not worry about it.

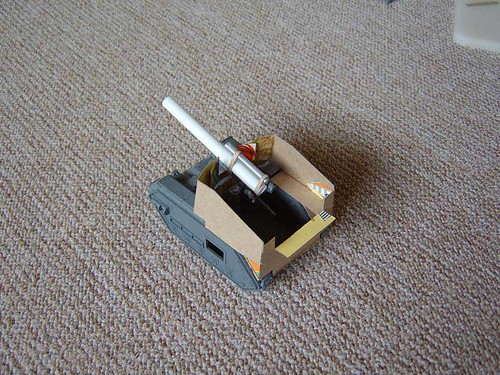
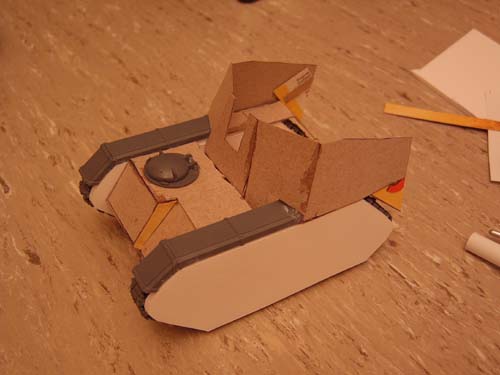
Now we're getting somewhere. Here's a shot of the walls.

sv600137.JPG

From the rear.

sv600138.JPG

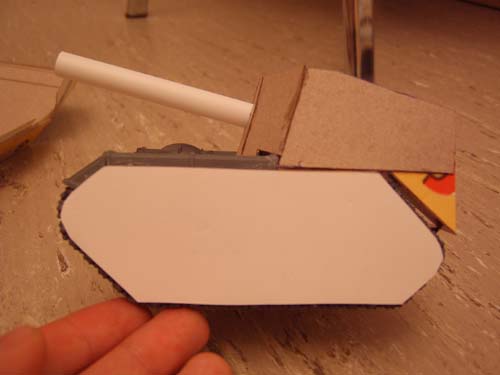
Side shot

With Cannon

sv600139.JPG

Interior shot of cannon. I'm still looking for good pics of the real thing so this is going to change over time. It's all just resting in there now anyways so it can easily be removed.