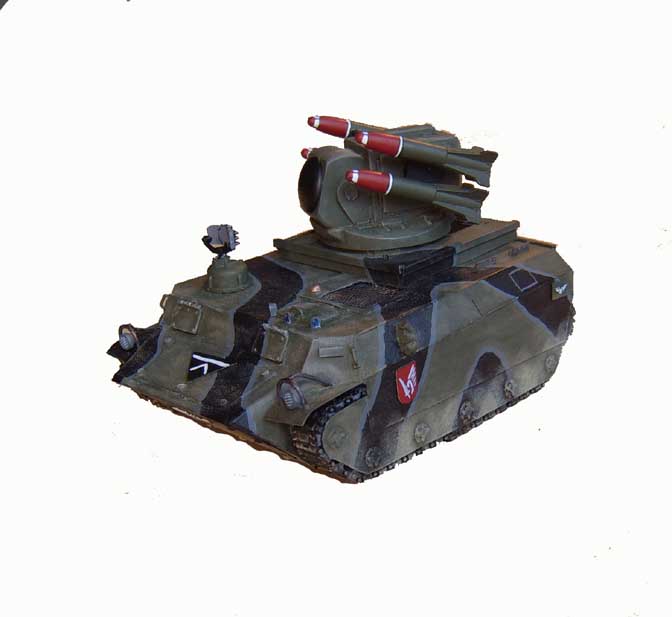
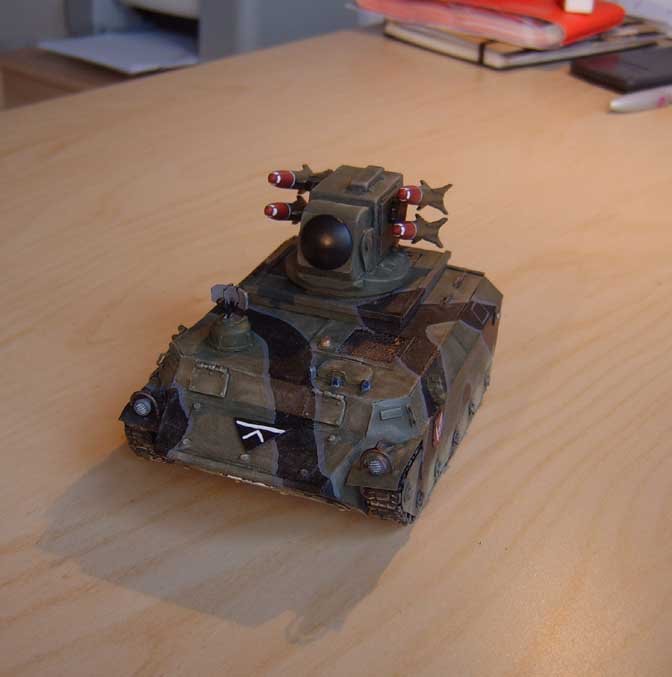
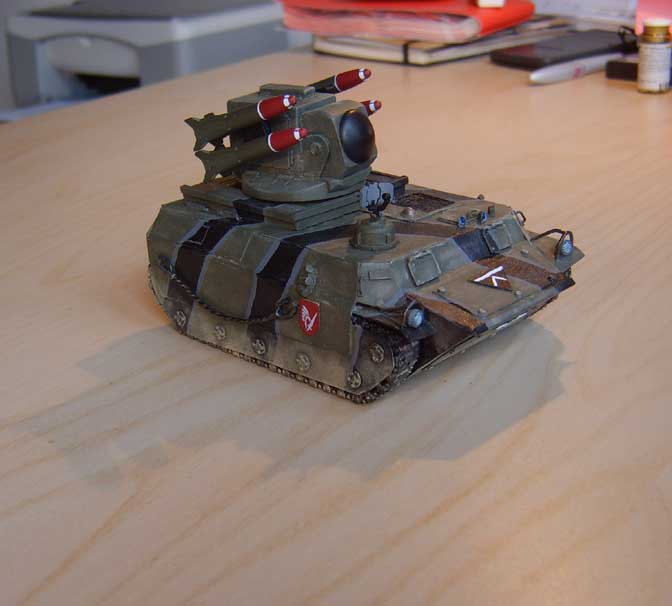
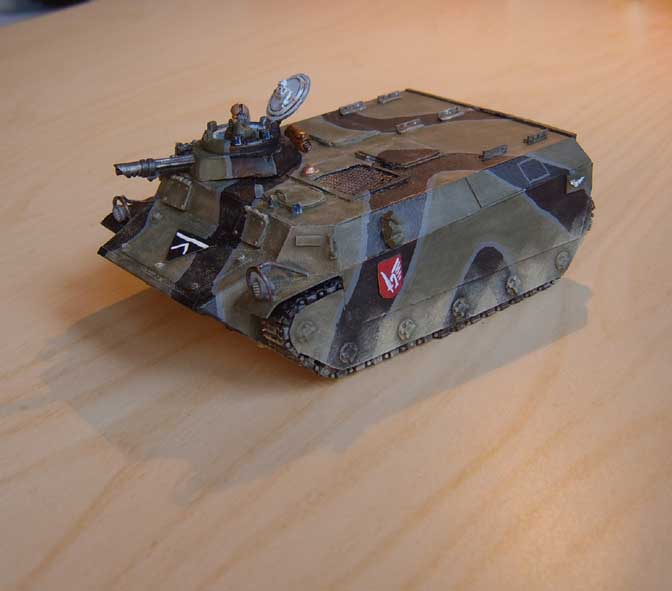
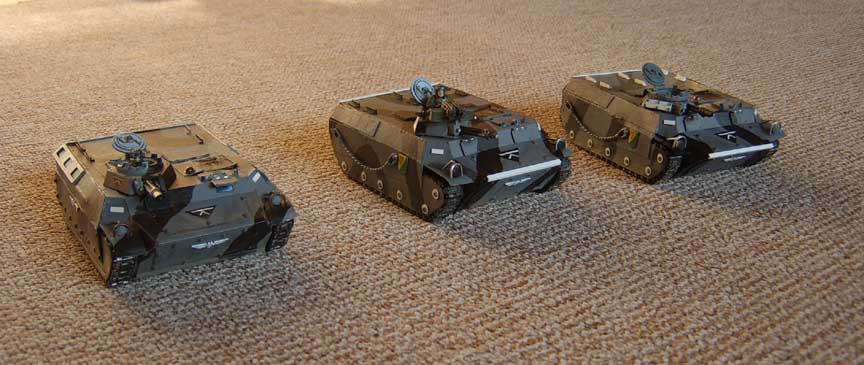
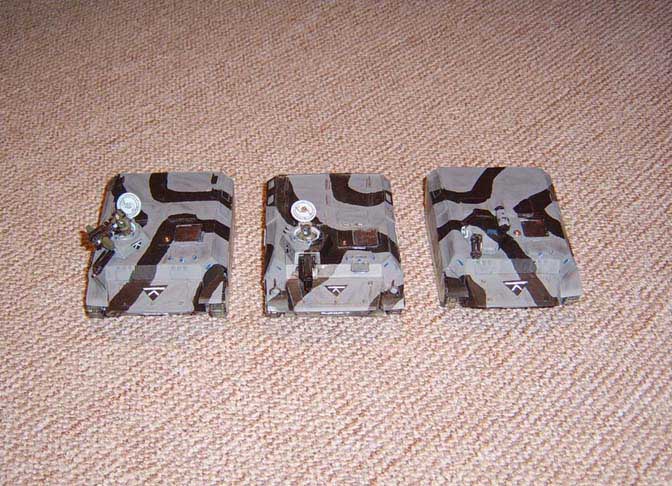
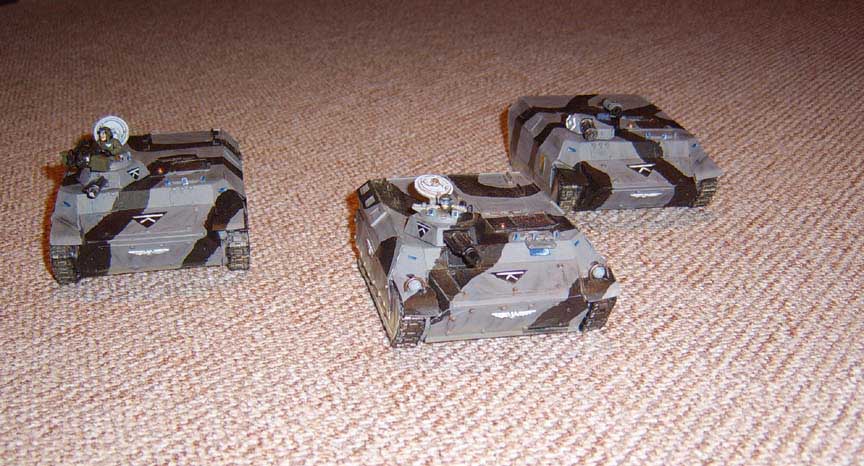
Hope you all enjoyed these.
21 November 2009
Vergnitz IV pattern Chimera’s (part 6)
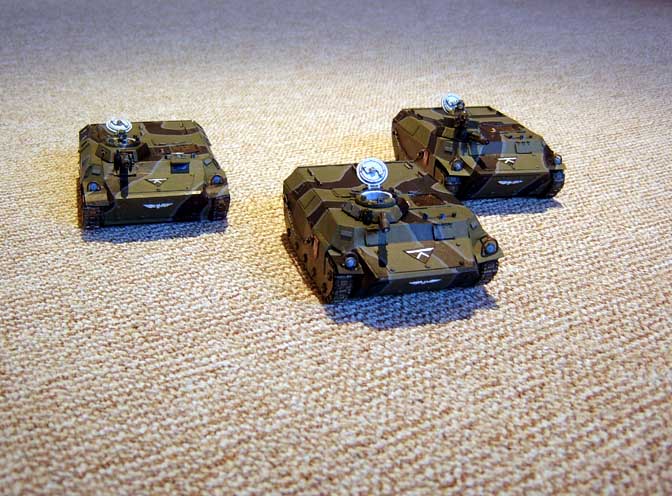
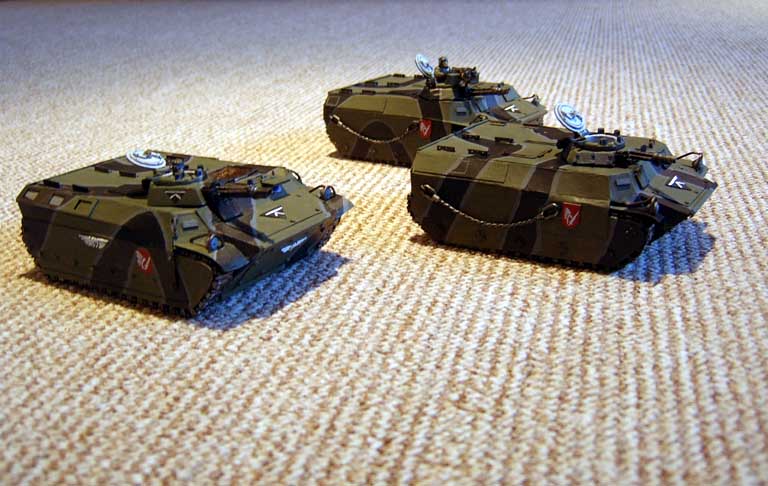
Hope you all enjoyed these.
02 November 2009
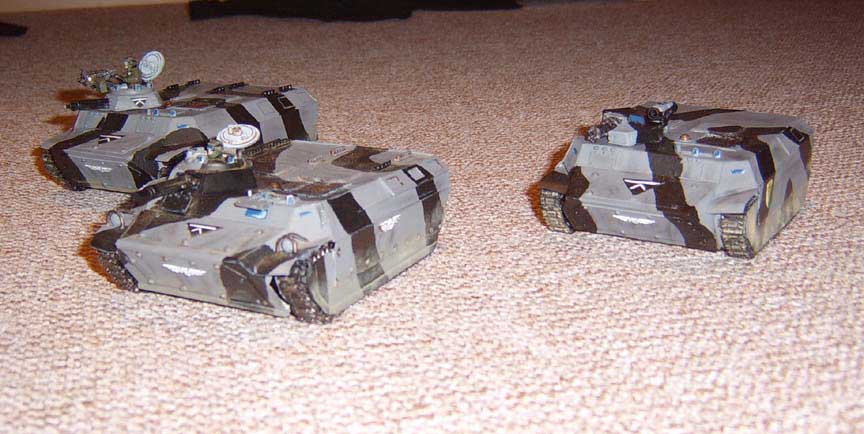
Manticore and Chimera Finished
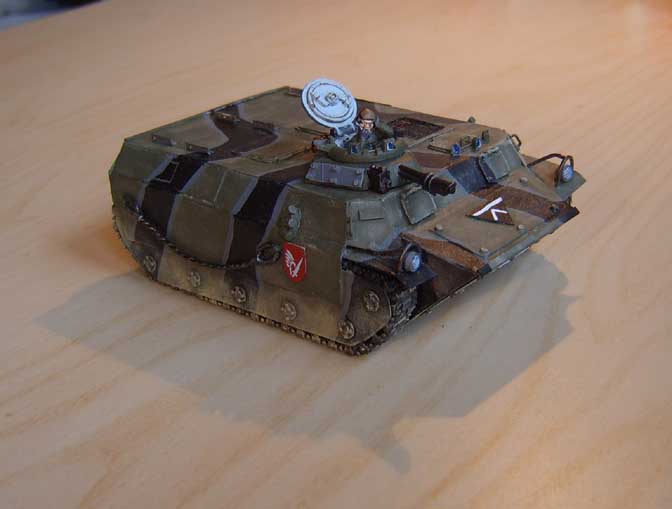
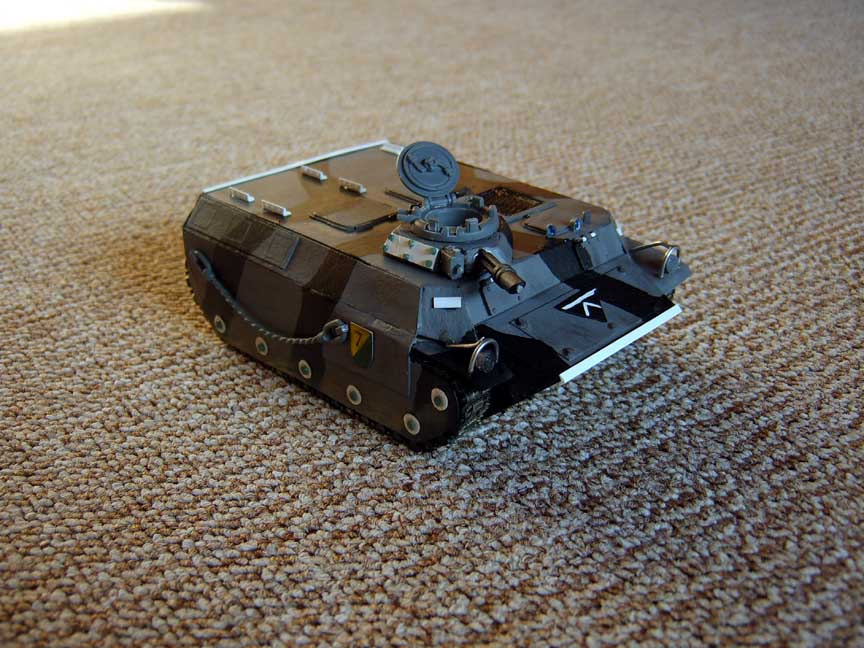
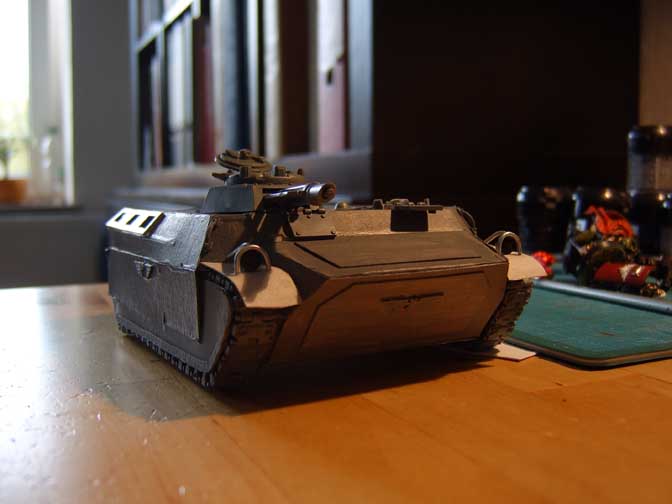
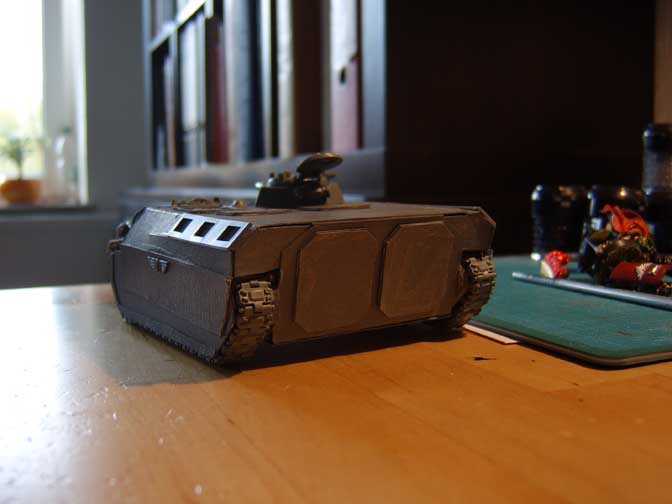
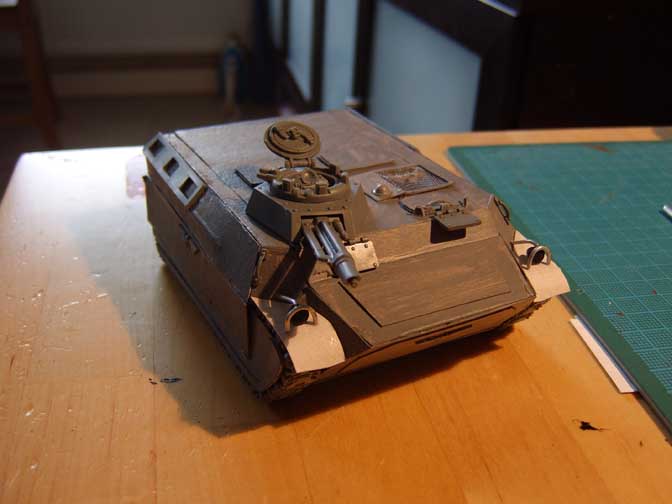
And here is the Chimera. It's pretty plane right now, and in the future I may build removable stowage to place on the back when the Manticore parts are removed. The TC is from Old Crow models and although he is a little bit smaller than GW models, I just loved the way he looked so had to include him.
Comments and critiques are always welcome.
18 October 2009
Coming soon
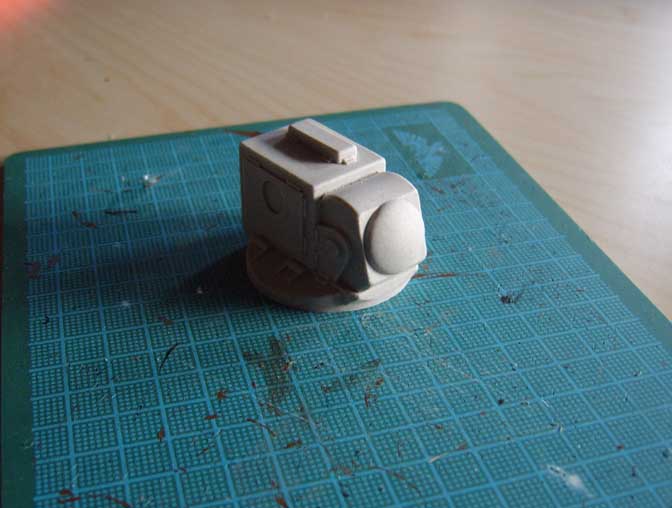
Well I finally got some of the parts I had been waiting for to finish of my Chimera's. It took a while (3.5 weeks) but was well worth the wait. The bits were all well formed and there weren't any miscasts, broken, or bent parts either. The resin parts were so much better than FW's. Nothing was damaged or warped, I was VERY Impressed. So Old Crow Models gets TWO thumbs up from me! Oh, and in addition I got this little baby here:
Can anyone guess what its going to be? If not just wait a few days and I'll have the next post finished and hopefully this along with it.
04 October 2009
Vergnitz IV pattern Chimera’s (part 5)
You can see that the backs of the tanks are pretty empty, this is just one of the places that my missing bits will fill. Fuel cans, rucks, and misc gear will go here. Once the weathering/detailing is done I'll be happy to get close up shots but until then I don't want anyone to see how crappy of a painter I am. :P
19 September 2009
Vergnitz IV pattern Chimera’s (part 4)
Well here's the latest on my Chimera's. I knocked up a turret for the 3rd Chimera this morning, and added Hvy Bolters to each of the turrets as well. Although I screwed up part of it, it still came out looking OK I just had to add a plate of the greenstuff and call it "battle damage". I also added some "L" shaped plastruct to the front and rear, and the headlights and headlight guards.
You can see in the above pic that I added the wheel cover thingy's on the side like most GW tanks. I really don't know the technical term for them, but thingy's works for me. I'm hoping that after the rivets are added they'll look better because I'm not overly impressed with them as it is. Below I cut an Aquila in half and added half to each side of the door.
And a new shot of all three together.
Tonight I'll sit down and make a ton of rivets and over the next few days I'll glue them all in place. After that these guys will be back on hold for a few weeks as the bits I need still haven't arrived. It's not that bad though as I found the missing book from my Inquisitor so at least I'll have a few things to do.
16 September 2009
Vergnitz IV pattern Chimera's (part 3)
Well it's been a whole year since I touched these guys and I finally decided to pull them out and get'em finished. As you can see from the pics no two actually look the same, just one of the many items on my list to correct. The one in the middle is probably the closest to being finished, as it was also the first of the 3 to be built.
26 September 2008
Vergnitz IV pattern Chimera’s (part 2)
As you can see in the first pic I've added the armor and rivets to the fronts of both Chimera's, but still need to do it to the sides. I ran out of rivets so I have to wait for the green stuff to set enough that I can start using it...
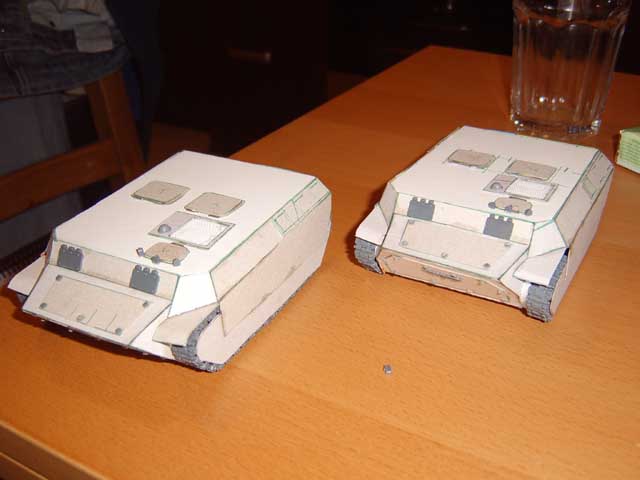
Here's a shot of the rear doors and front at the same time, I don't know why but it's one of my favorite pics... Egal, so tomorrow in addition to finishing off the turrets I also plan on at least getting the base coat put on, as I'm hoping to use them in a game on Saturday. Can't play with models looking like paper.
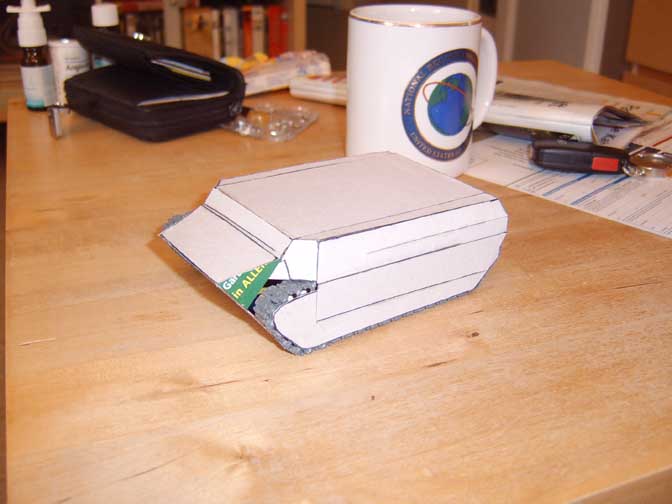
Regarding paper. Yup both of these, like all my scratch builds are done using cereal box and poster board. I know that my work is not the greatest, and for that reason I don't waste my money on plasticard. A cereal box works just as well, especially when you have to make pieces 2-3 times (I hit a quarter at 300 meters, but can't measure a 2 millimeters).
Well see ya'll next time.
23 September 2008
Vergnitz IV pattern Chimera’s (part 1)
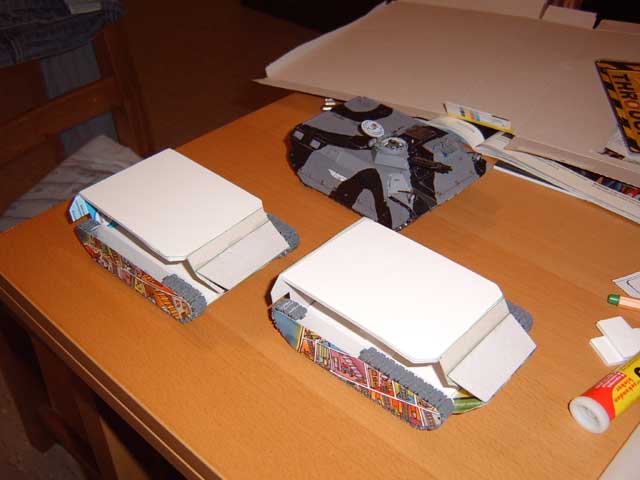
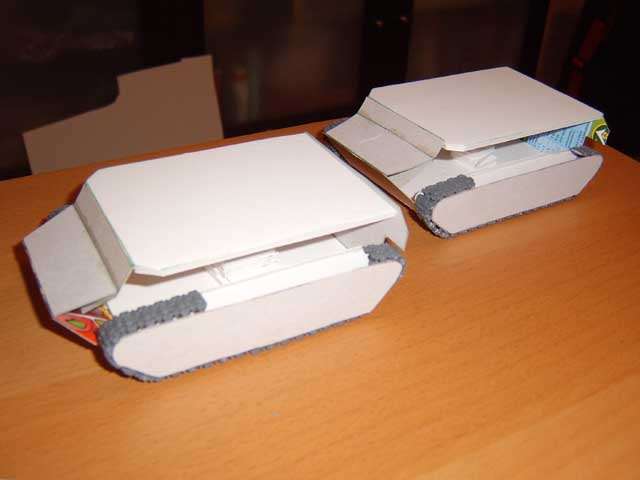
The first pic is just a shot of the track sections So it's not very interesting. I saved the templates from last time so this is actually going a lot faster than the first time. In all it took me an hour to get as far as I did tonight, whereas the first one took prolly 2 hours to get to this point. I've also used a heavier poster board for the roofs, as well as put support underneath. The first Chimera I built started to sag in the middle because of pressure as I pushed on it during the building process. I've also made the back a one piece instead of the earlier 2 piece design, and I think it looks a lot better this way. Well on to the pics.
The roofs are made out of a thicker poster board this time, and support from underneath to prevent sagging in the middle. In addition they are larger and made of one piece instead of 3 like the original.
Here you can see the one piece back. Sorry it's a little blurry, I didn't notice it until now.
05 September 2008
Chimera WIP (Take 3)
Well I added tie down points to the roof along with a little bit of gear. I'll prolly add more, I'm just not sure what, thinking of fuel cans etc... Also added hinges to the doors, and door handles.
Front view showing pretty much the same as the rear view.
02 September 2008
Chimera WIP (take 2)
Low angle shot showing the front. I plan on painting the drivers view port under the armored flap, and putting rivets around the front and side armor as well. I'm actually quite happy with the way the headlight came out, but they are a little hard to see in this pic.
Rear view showing the troop doors. So far other than the doors I haven't done anything back here so expect more later.
A view from the top, you can make out the engine compartment behind the drivers hatch, and the two troop hatchs just behind that.
Chimera WIP (take 1)
First one to correctly guess what it's going to be gets a cookie. :P